Exploring Curing Processes for Ceramic Coating: A Comprehensive Guide
GET A FREE ESTIMATEUnderstanding the curing processes for ceramic coatings is crucial in ensuring your projects reach their highest level of performance and durability. Imagine spending hours meticulously applying a ceramic coating only to watch it degrade prematurely due to improper curing. This guide explores each curing method, helping you avoid such frustrations by providing clear, scientifically-backed steps.
The curing processes for ceramic coating involve several critical steps, including solvent evaporation and chemical cross-linking, which transform the liquid formulation into a durable protective layer. Factors such as environmental conditions, type of coating, and application thickness greatly influence curing times; it typically takes between 24 and 48 hours for the initial cure and can extend to several weeks for full hardness, emphasizing the importance of maintaining a controlled environment and following manufacturer instructions for optimal results.
Methods for Ceramic Coating Curing
One of the most straightforward methods for curing ceramic coatings is through air curing. This method involves allowing the coating to dry naturally over time, leveraging ambient conditions. During air curing, an initial cure typically takes about 24 to 48 hours, while reaching full hardness might extend from several days to even weeks. The key here is environmental control; keeping the coated vehicle in a clean and dry location helps prevent contaminants from disrupting the curing process. For example, many car owners deliberately park their vehicles in a garage during this phase to ensure they are shielded from dust and moisture.
While air curing is practical for many situations, it may not always be feasible, particularly when rapid turnaround times are necessary. This brings us to heat curing, a method that utilizes controlled heat to expedite the drying process. By using specialized equipment like drying lamps or heat guns, you can significantly decrease the overall time needed for curing. Many professional auto detailing shops take advantage of infrared lamps that provide consistent warmth to facilitate faster curing. With heat curing, some coatings may reach full effectiveness in just a few hours, making it an attractive option for busy automotive shops or individuals eager to use their newly coated items sooner rather than later.
However, there’s yet another compelling option worth exploring: UV light curing. UV light curing presents a more advanced approach wherein specialized ultraviolet lamps are employed to cure the ceramic coating almost instantaneously. This method shines brightly when time is of the essence—it allows detailers and users to achieve immediate results with minimal waiting. If you're someone who values efficiency, UV light can provide an ideal solution. High-end detailing services often employ this technology to deliver quick service without sacrificing quality, allowing clients to drive away with their freshly coated vehicles in no time.
Each of these methods—air curing, heat curing, and UV light curing—offers its own unique set of advantages tailored to specific circumstances and needs. Understanding when and how to utilize them can make all the difference in ensuring that your ceramic coating adheres correctly while providing lasting protection.


Chemical Reactions in Coating Curing
The process of curing a ceramic coating is not merely a clinical, stepwise method; it encompasses intricate chemical reactions that play pivotal roles at different phases. Essentially, there are two primary stages worth focusing on: the evaporation of solvents and chemical cross-linking.
- Evaporation of Solvents: The first stage of curing involves the evaporation of solvents contained in the coating. This phase is vital to the entire process because it's during this time that the liquid form begins to transition into something much harder and more resilient. As these solvents evaporate, they leave behind a denser solution, allowing the coating to begin its solidification. A common mistake in application is rushing through this crucial stage; ensuring that enough time is allocated for adequate solvent evaporation can significantly enhance performance. When a ceramic coating isn't given ample time to breathe, the integrity of the bond formed between the coating and surface diminishes. If solvents evaporate properly, it allows the material's components to intermingle effectively. The result? A hard shell that adheres firmly to your vehicle's finish.
- Chemical Cross-Linking: The second crucial stage is chemical cross-linking, where the magic truly unfolds. This reaction occurs as particles within the coating undergo transformations, creating stronger interconnections among themselves while also bonding chemically to the underlying paint surface. Consider this: when exposed to heat or UV light during curing, specific silicone compounds present in ceramic coatings begin forming new molecular chains. It’s like building a robust web—each connection strengthens its overall structure. This reaction doesn’t just improve physical strength; it also enhances resistance to various forms of damage such as abrasions and environmental stressors like UV rays and chemicals. This cross-linking ensures that molecules in the coating don’t merely stick together but transform into an exceptionally refined protective barrier.
By ensuring a thorough approach during both stages—the careful evaporation of solvents followed by meticulous chemical bonding—one guarantees that the durability and longevity sought after from ceramic coatings are achieved.
Best Practices for Application
Achieving a flawless finish when applying ceramic coatings hinges on a few best practices that can make all the difference. The process starts long before you even pour the coating from its bottle. If you miss any contaminants, like dust or oil, it can compromise the integrity of the coating right from the get-go.
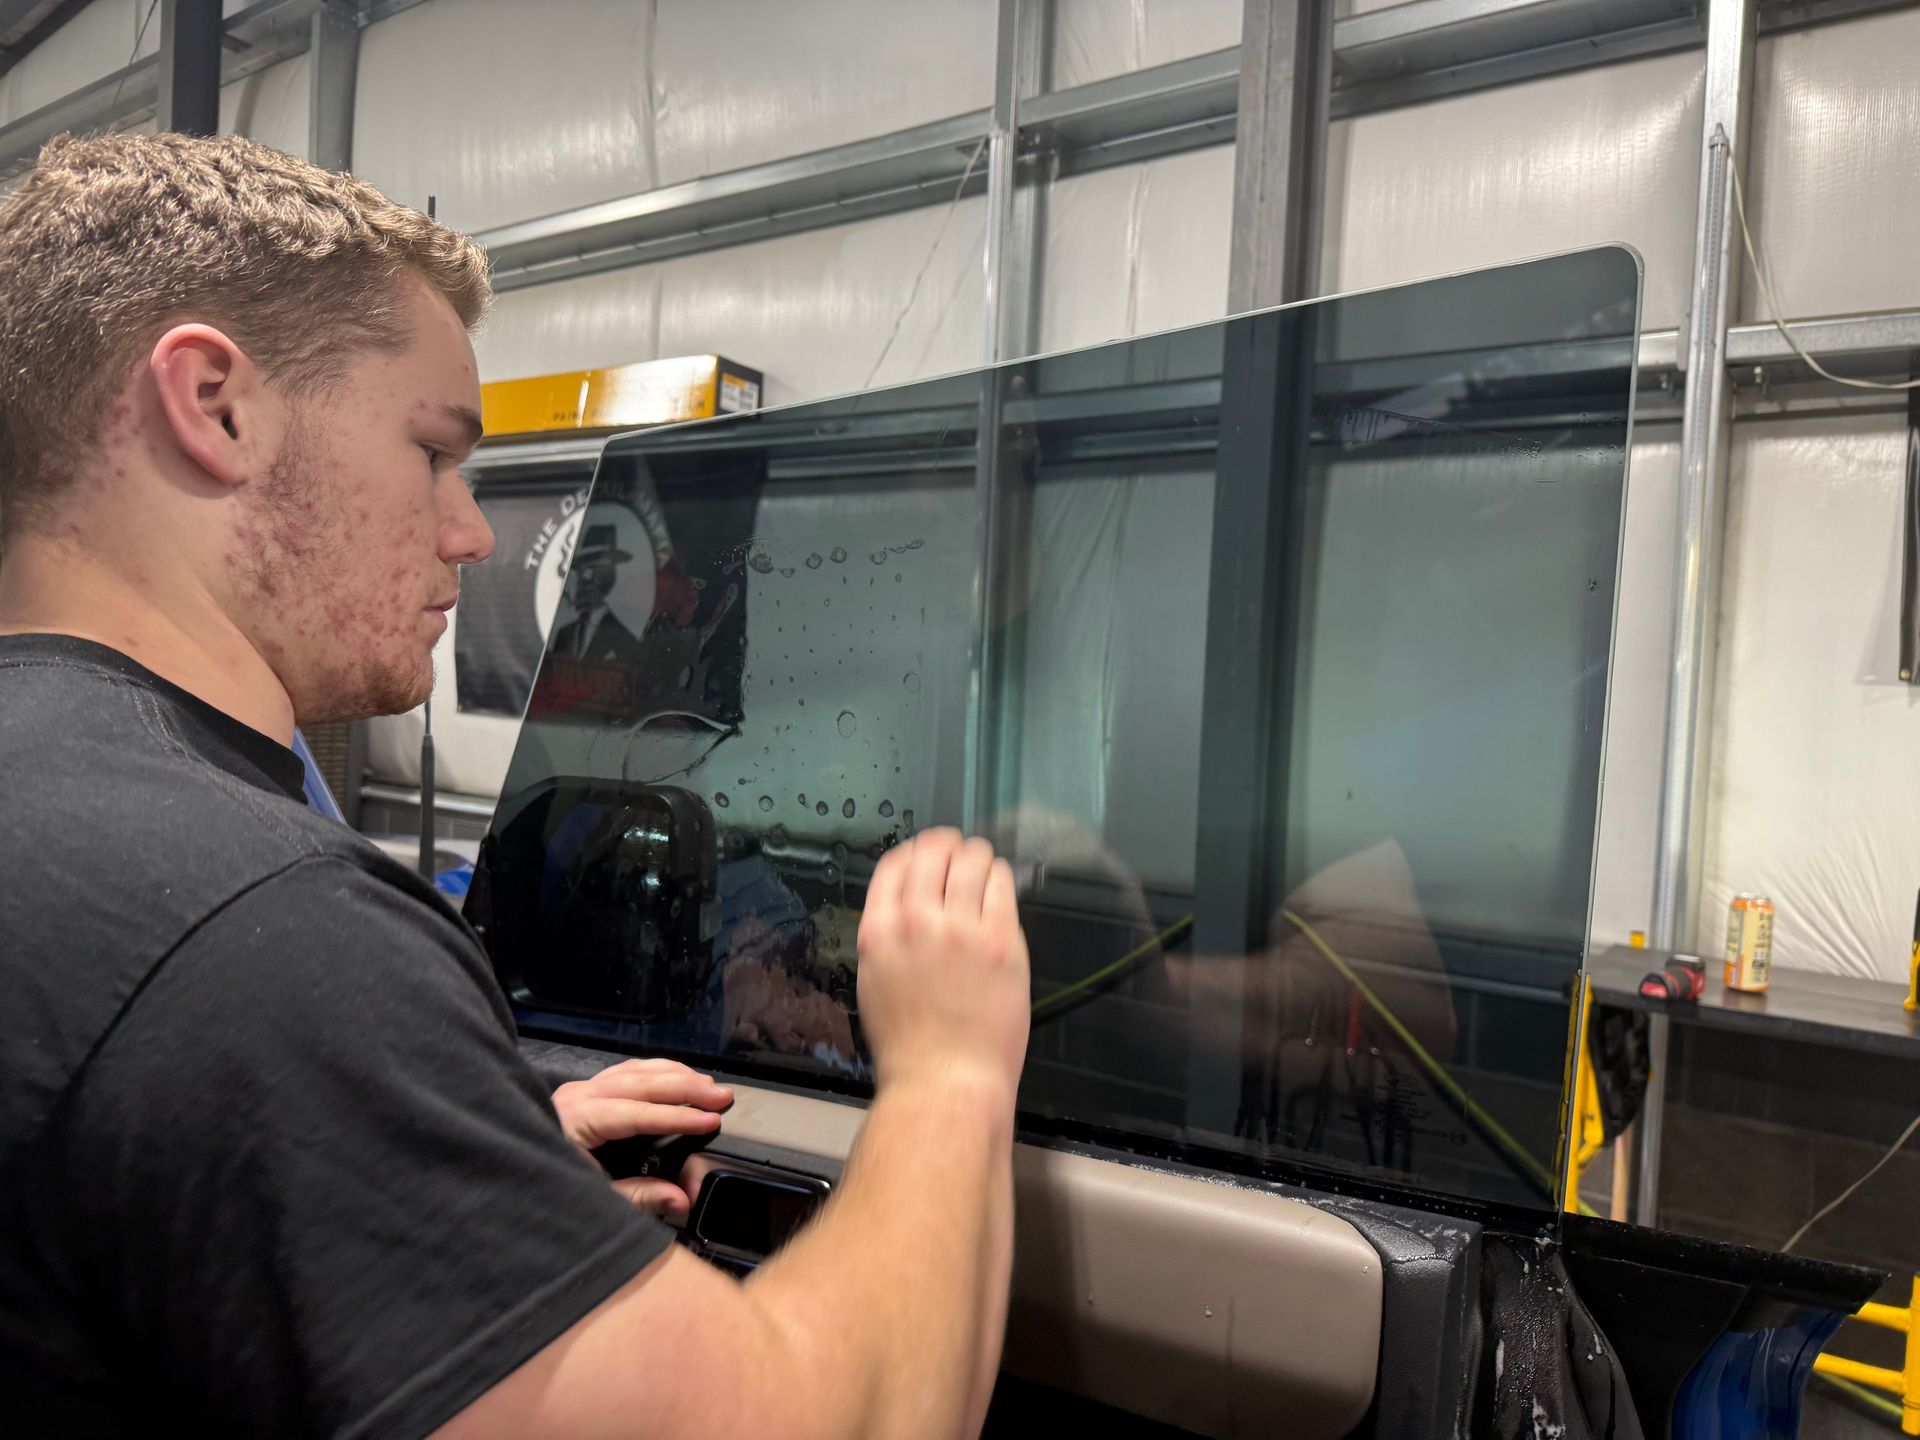
- Surface Preparation: Surface preparation is crucial and serves as the foundation for a successful application. Imagine trying to paint a wall that’s still got old peeling paint and dirt; it just wouldn’t adhere properly. So, ensure that the vehicle surface is pristine. This often involves washing it thoroughly, followed by decontamination using isopropyl alcohol wipes. These wipes are excellent because they not only clean but also help remove any residues that may interfere with adhesion. Afterward, allow some time for the surface to dry completely so the coating has a solid base to bond with.
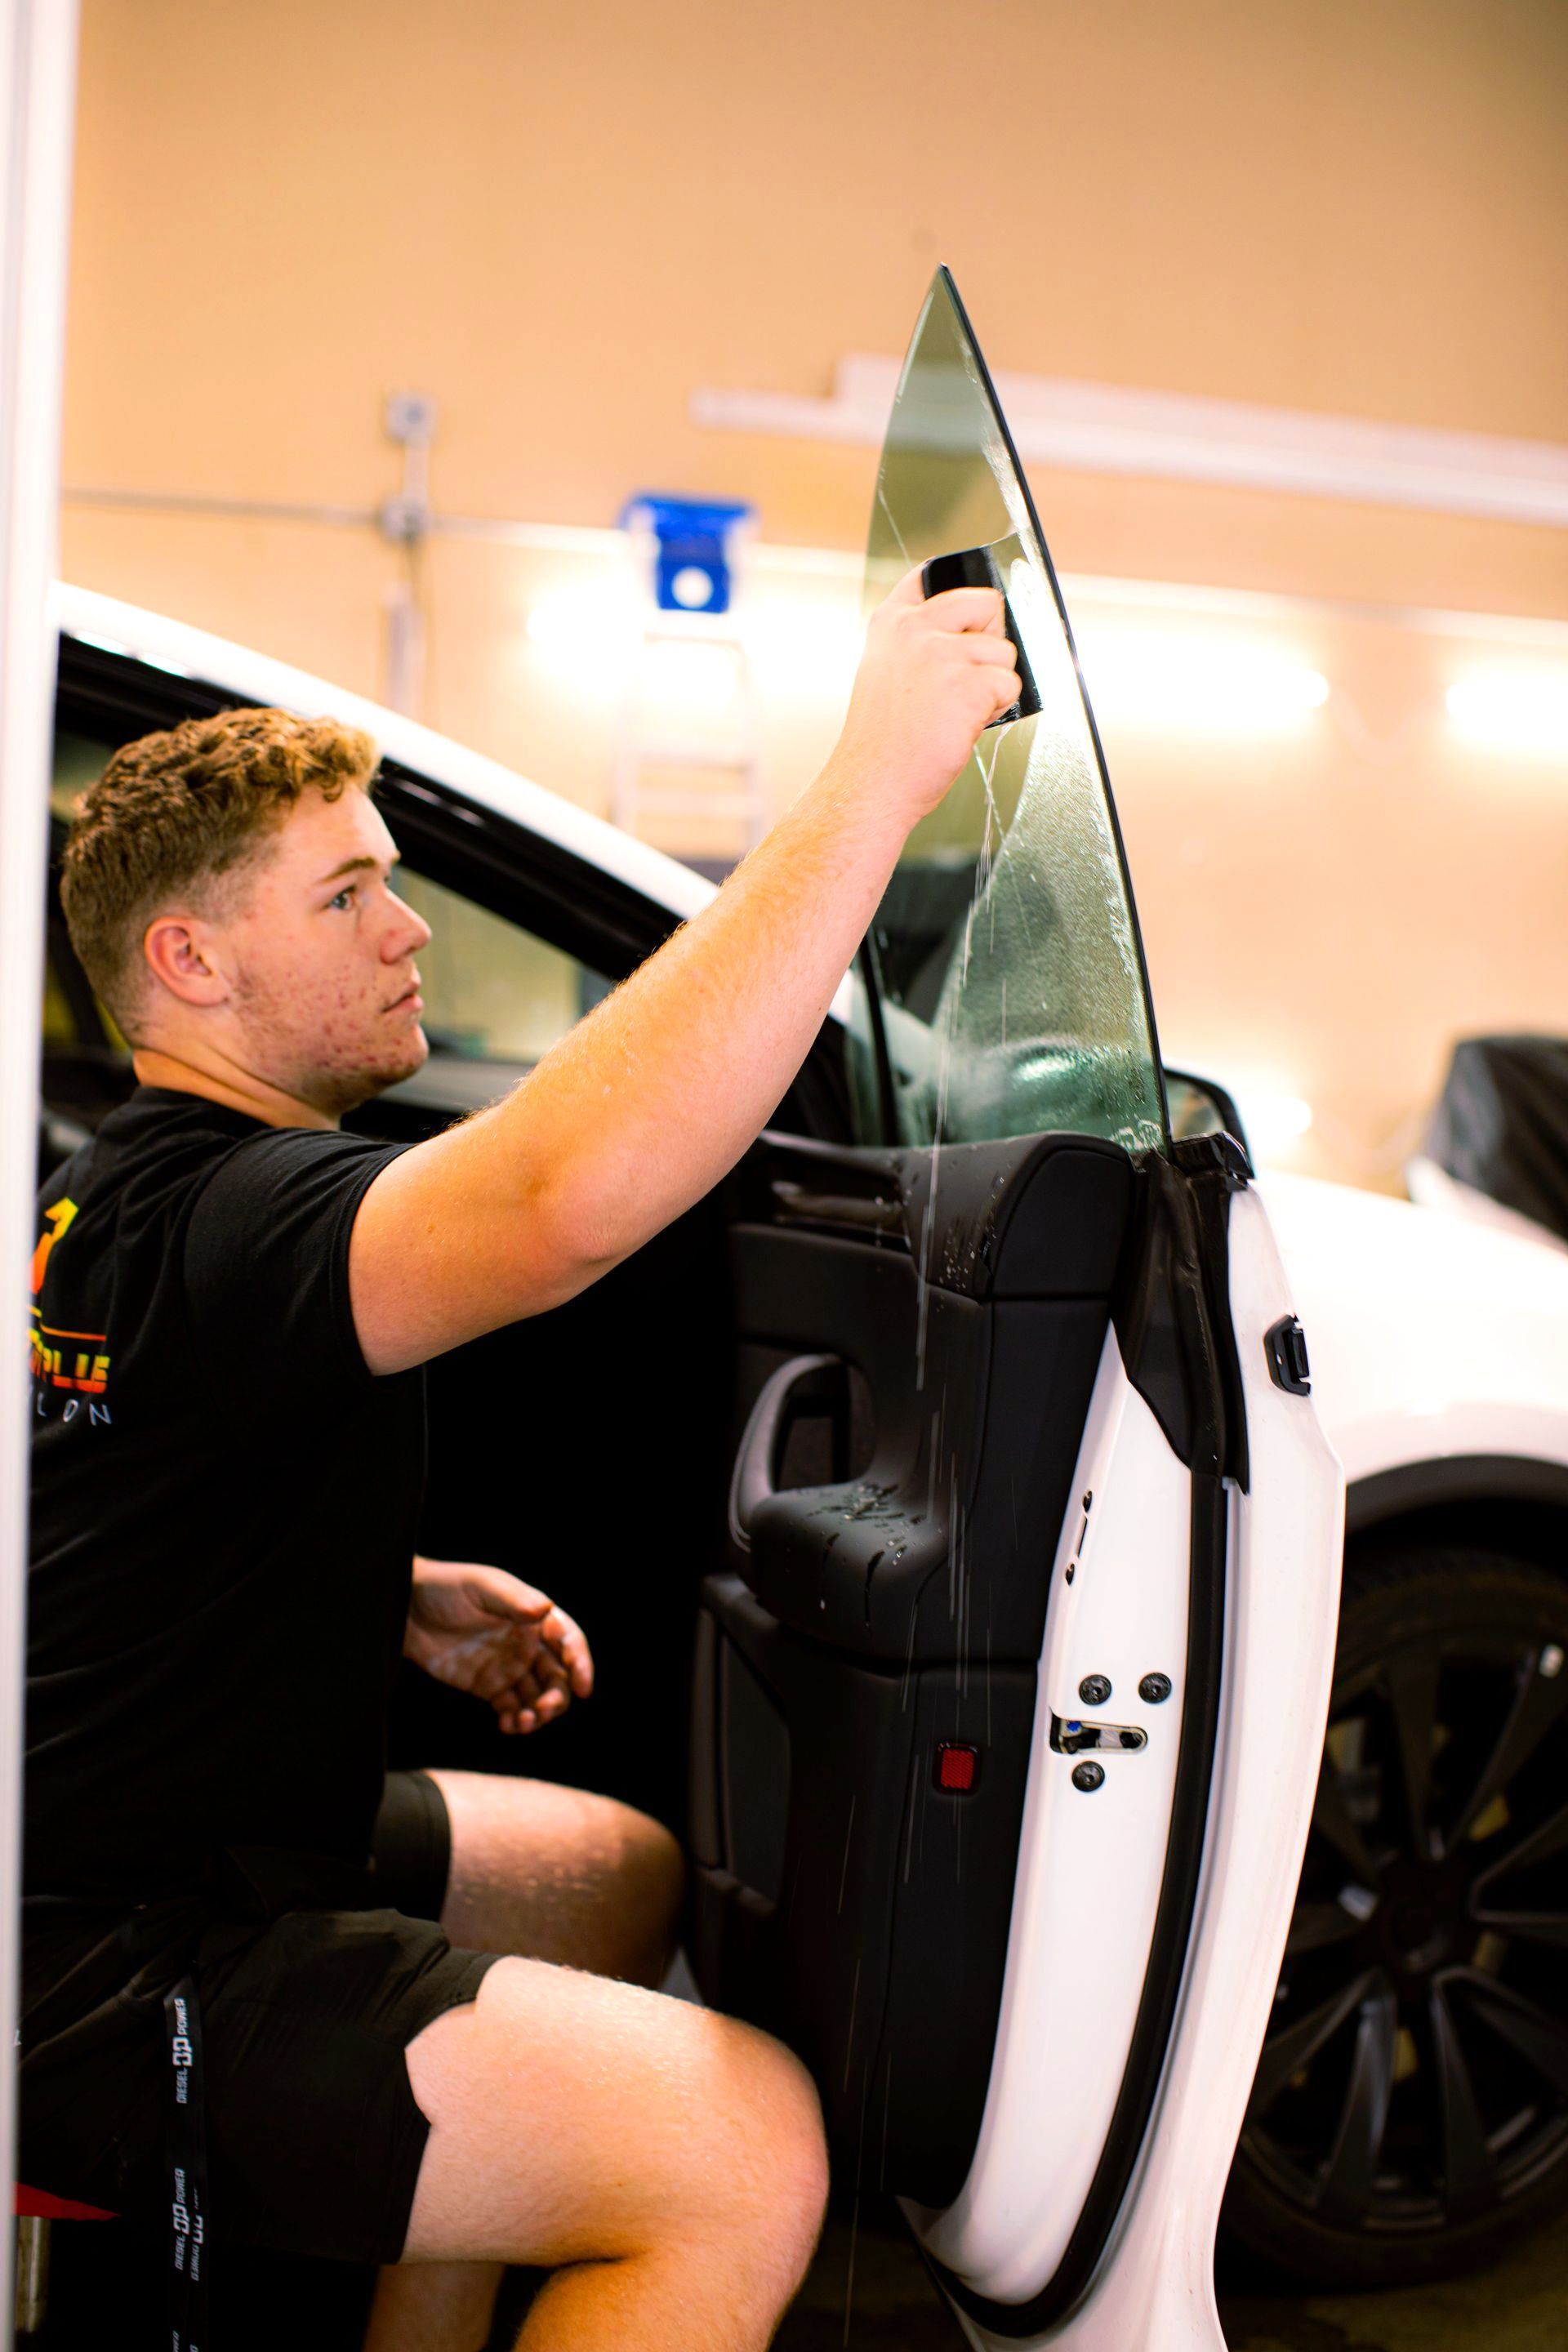
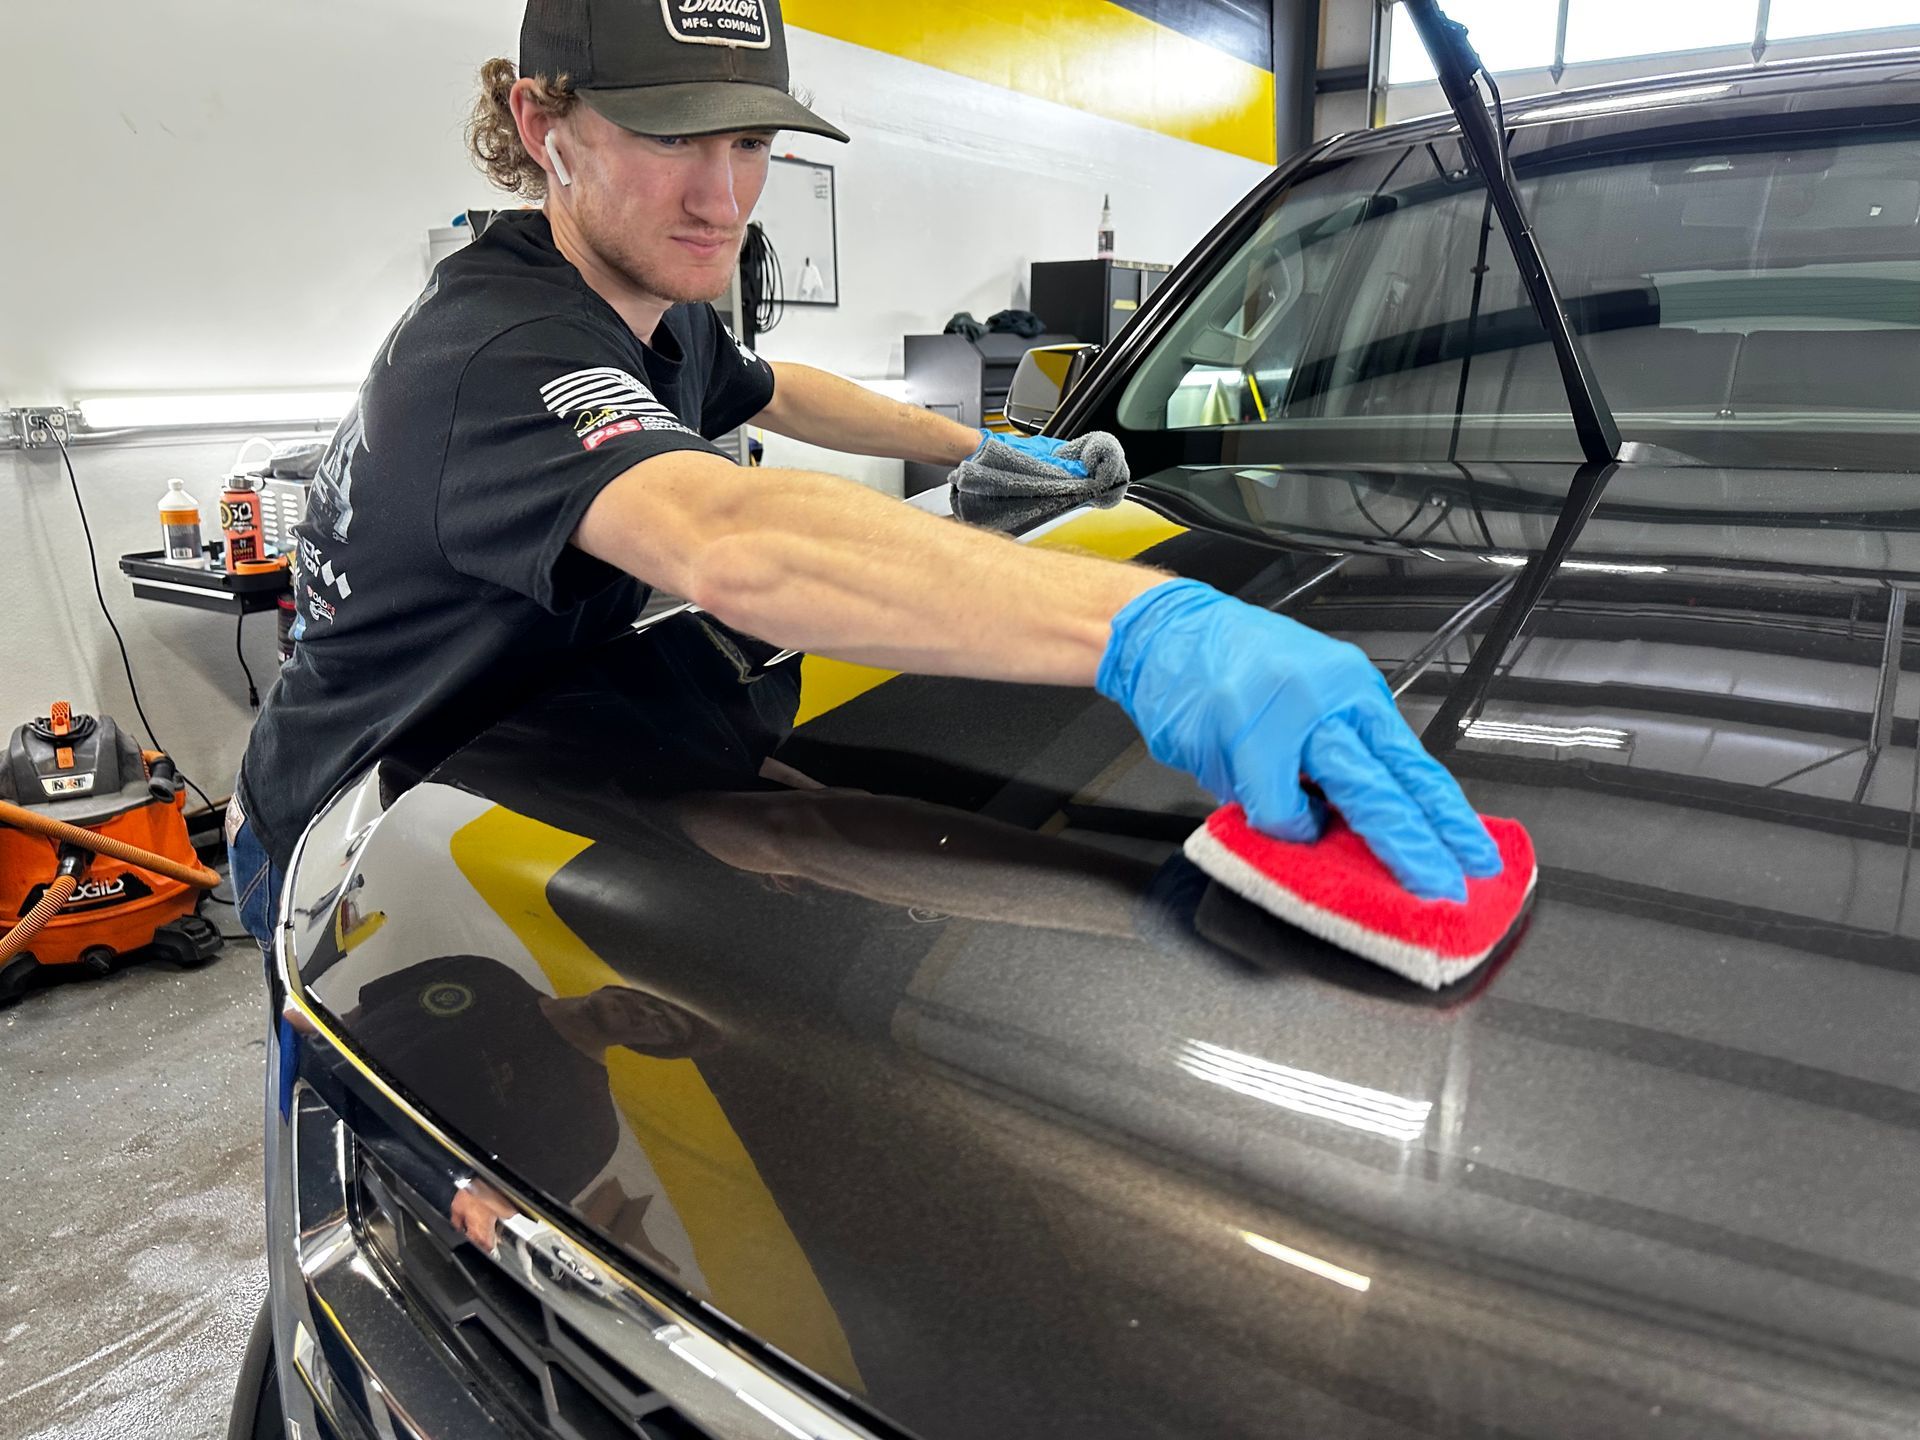
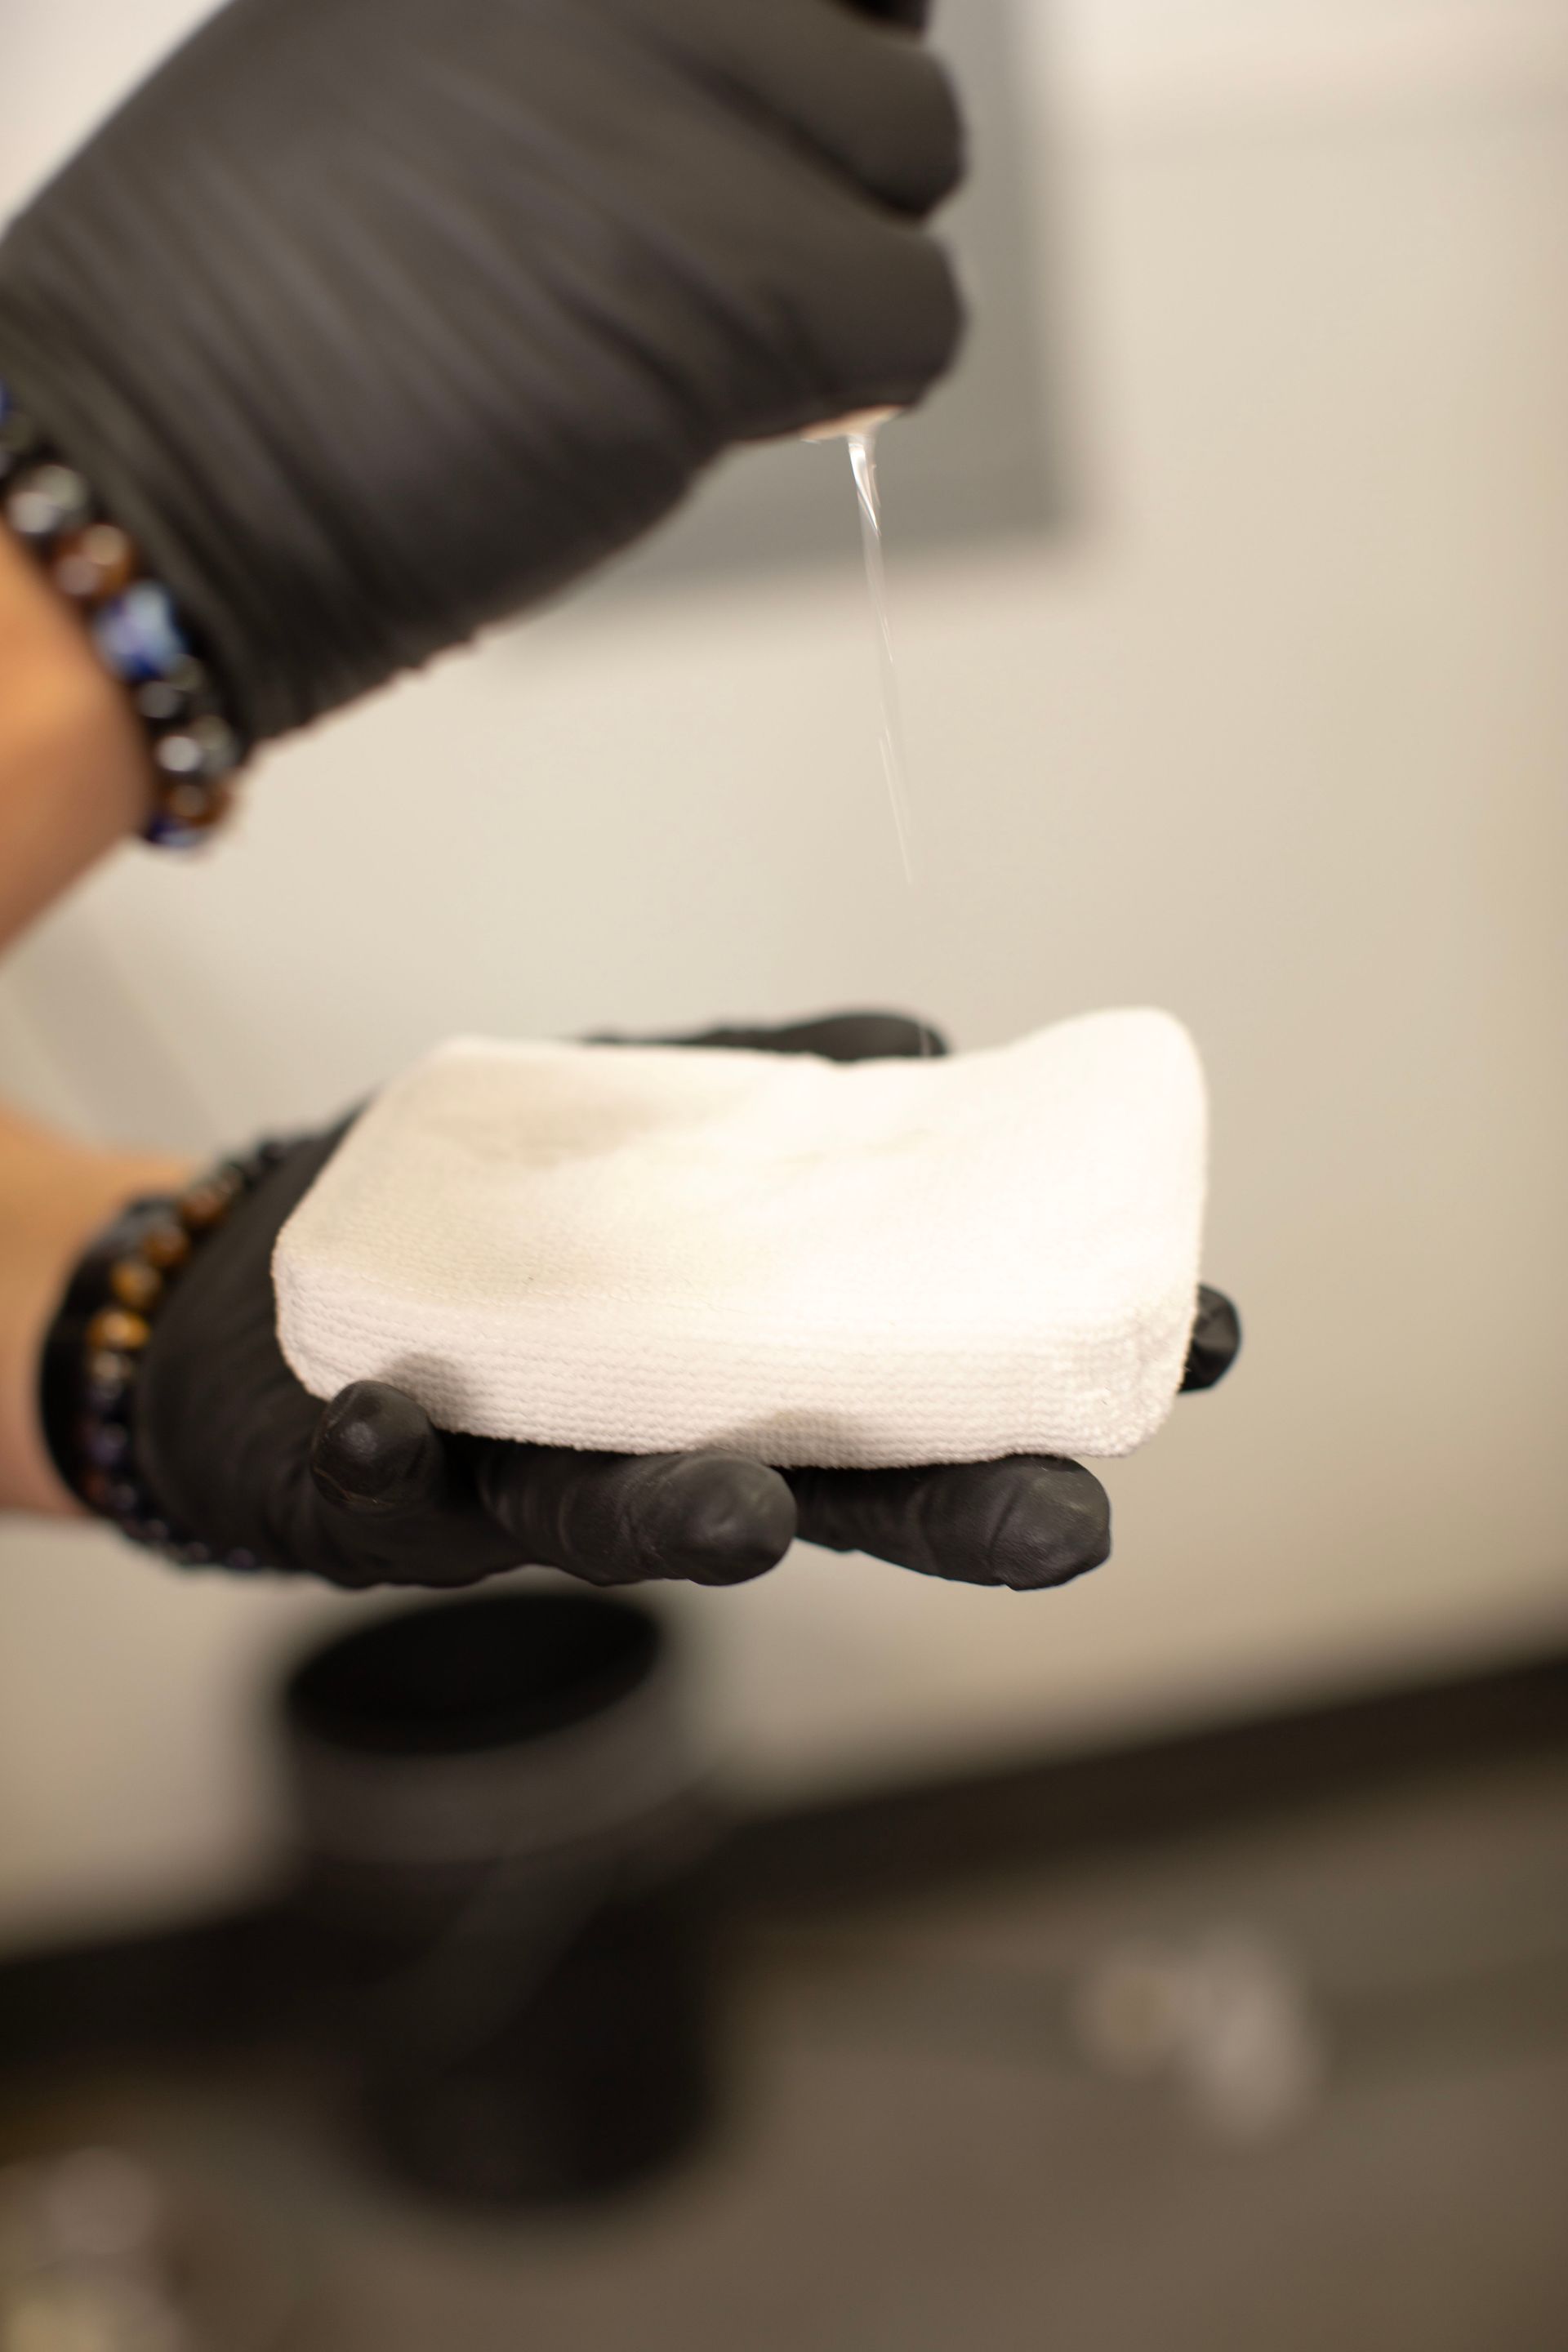
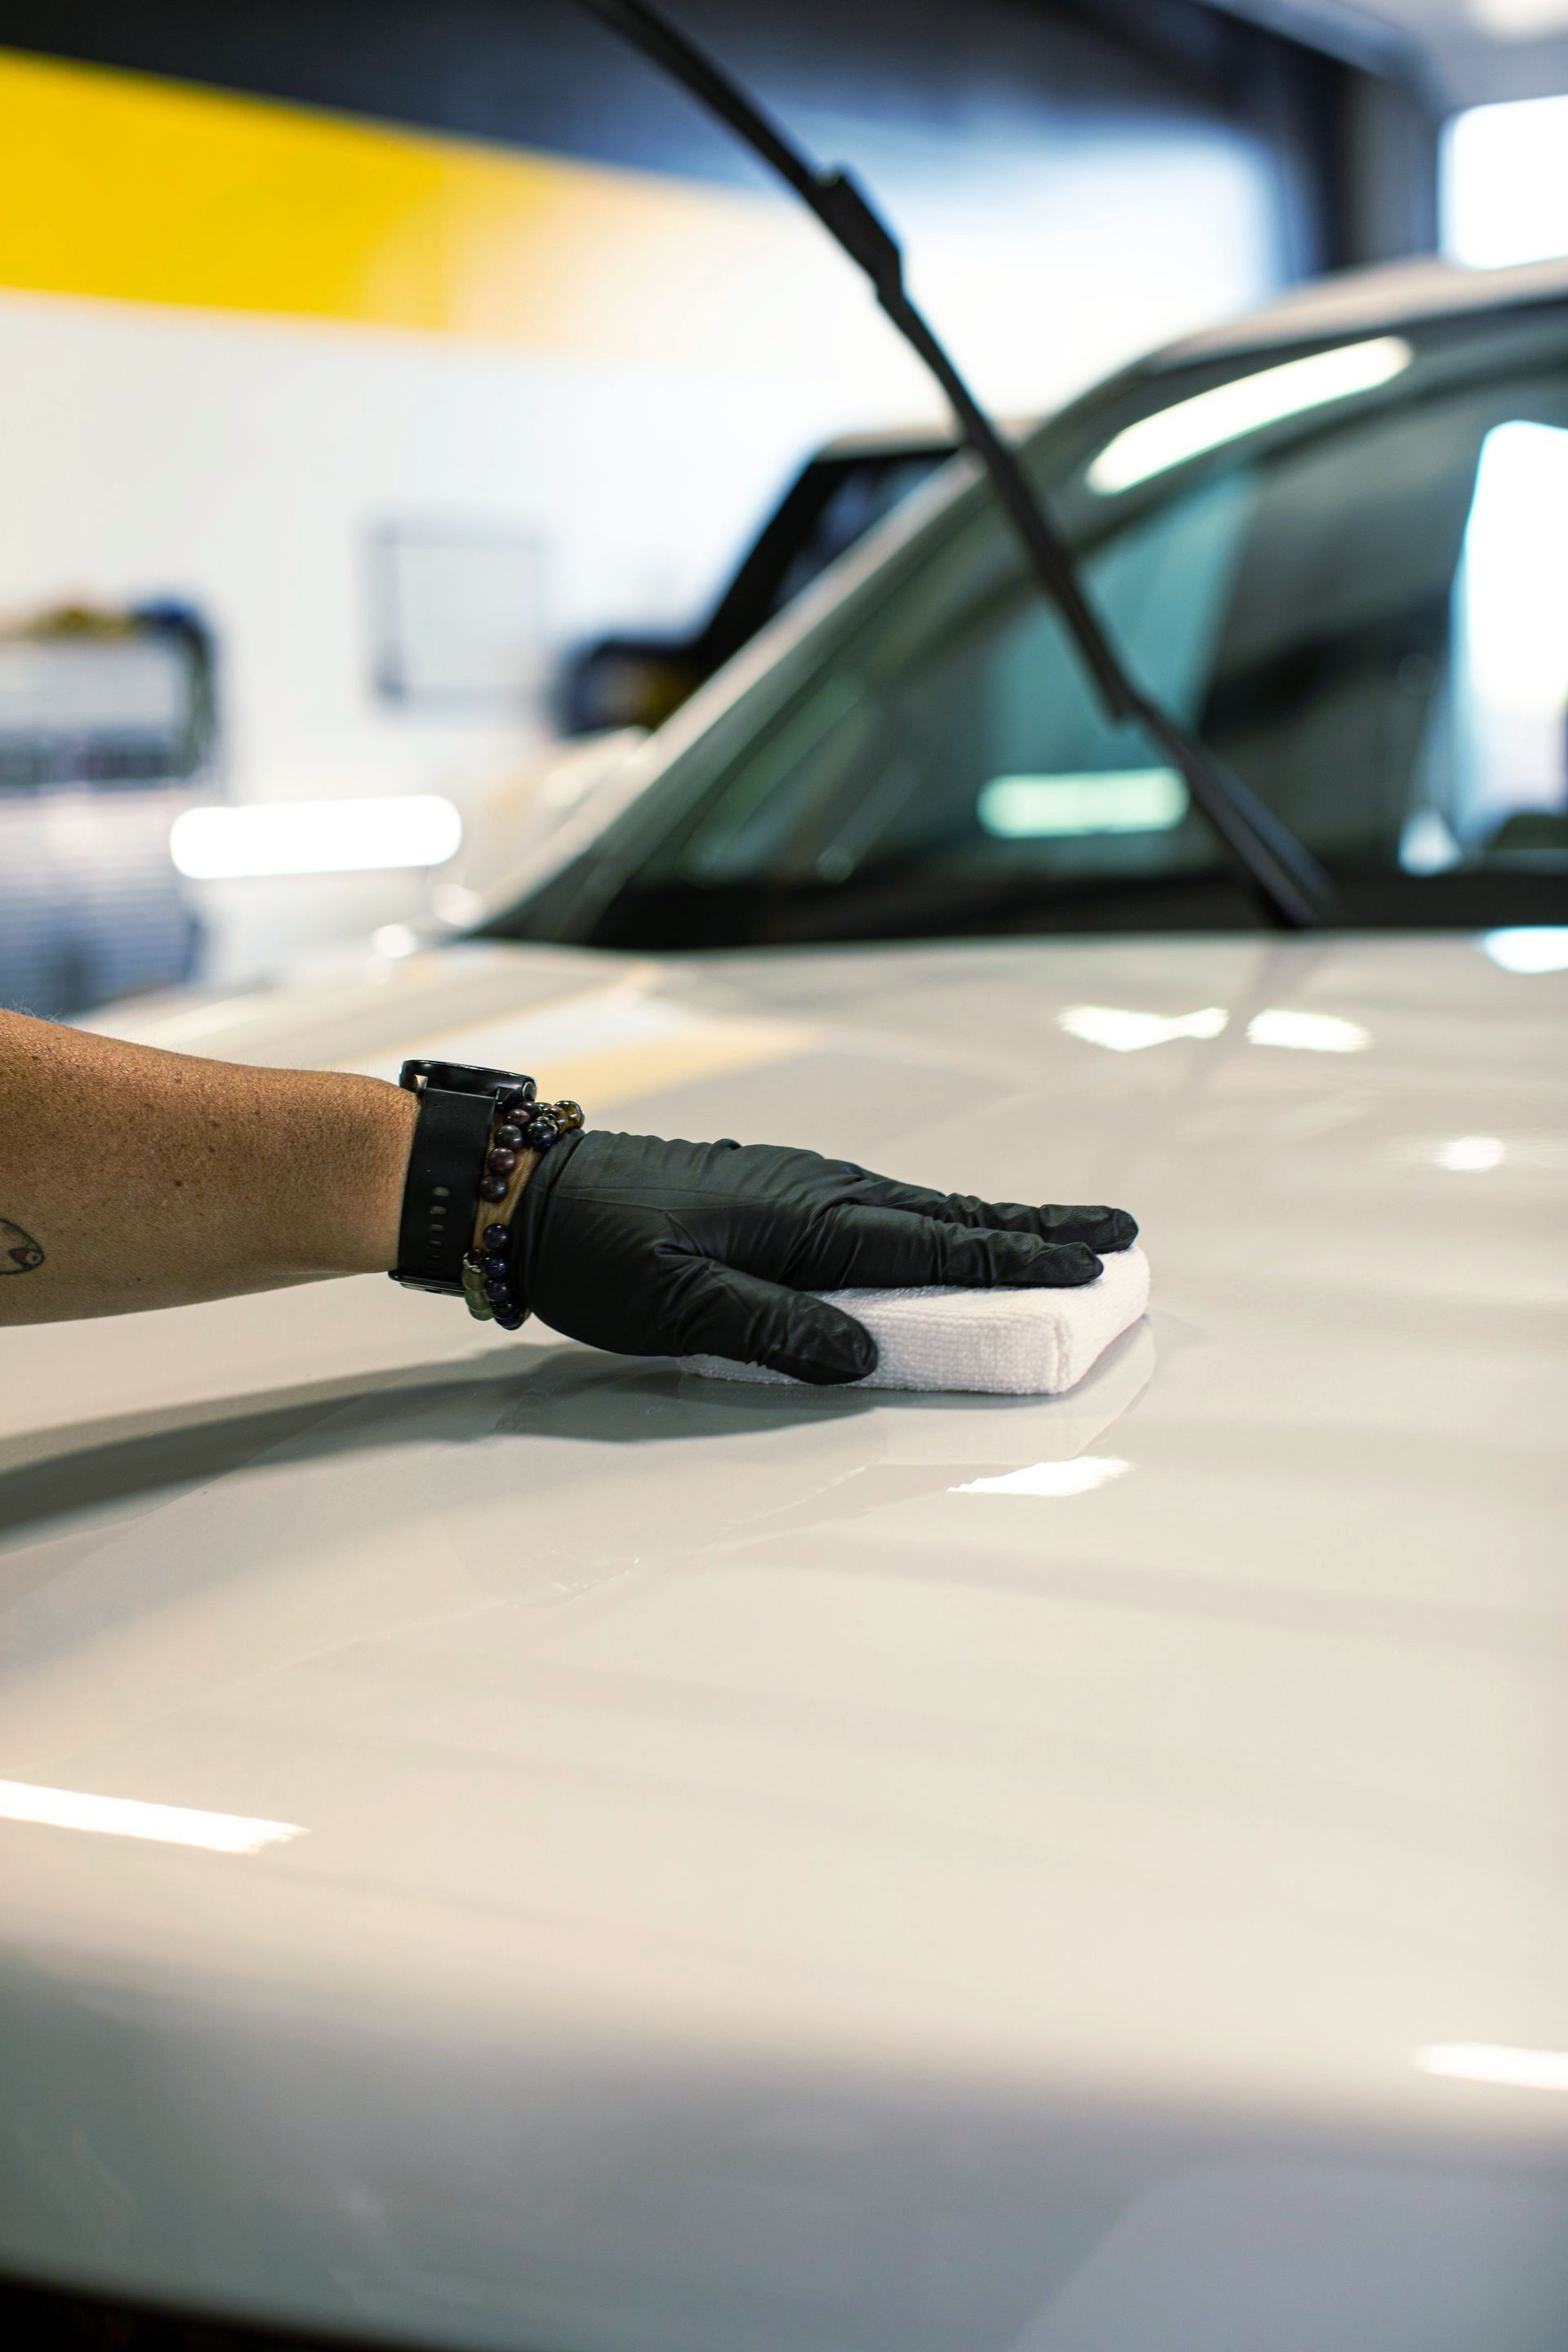
- Applying the Coating: Once your surface is prepped perfectly, it's time to move onto applying the coating. Here’s where precision matters significantly. Pour out a small amount of ceramic coating onto an applicator pad—less is indeed more here to avoid wastage while ensuring better control during application. The key technique used at this stage is a cross-hatch pattern; this means applying one layer in horizontal strokes and then going back over it with vertical strokes. Doing this step not only helps distribute the coating evenly but also ensures that every nook and cranny on the surface receives coverage.
- Initial Buffing: After letting the ceramic coating settle for just a few minutes, usually two to five depending on manufacturer instructions, moving into initial buffing becomes necessary. Grab a clean microfiber towel and gently buff off any excess coating. This step is important because, if left unattended, excess coating could lead to streaks or uneven gloss. You want your vehicle to shine bright, and this simple act ensures a smooth finish; think of it as polishing your shoes before heading out for an occasion—it makes that much of a difference!
- Final Inspection: After completing these steps, take a moment for a final inspection of your work. Under good lighting—preferably natural light—look closely for any missed spots or inconsistencies that may have escaped your notice previously. By remaining patient throughout each step and focusing on attention to detail, you'll set yourself up for success with ceramic coating applications, enhancing both aesthetics and protection for years to come.
Heat, UV, and Infrared Techniques
Heat techniques are among the most prevalent methods of curing ceramic coatings, known for their ability to enhance adhesion and improve mechanical properties.
- Heat Guns: Heat guns are versatile tools that can target specific areas of the coated surface with a concentrated flow of heat. They work exceptionally well for smaller projects or when precise application is necessary. However, wielding a heat gun requires some finesse; overheating can easily damage the underlying surface or lead to uneven curing. Therefore, it's crucial to keep the nozzle moving steadily and maintain a safe distance from the coating—typically around 6 to 12 inches—to ensure even exposure without scorching the material.
- Infrared Lamps: Alternatively, infrared lamps provide an efficient means of heating larger areas uniformly. These lamps emit infrared radiation, which penetrates deep into the coatings and ensures consistent curing. One of the key benefits is the ability to cure multiple coats simultaneously, making it a time-saver for professionals managing high-volume applications. However, while effective, infrared lamps tend to be on the pricier side, requiring an upfront investment that may deter casual users.
- UV Techniques: UV curing is a cutting-edge method that leverages ultraviolet light to initiate rapid chemical reactions within the ceramic coating. This technique solidifies the coating almost instantaneously, resulting in a hard layer that provides excellent protection. While incredibly efficient in terms of time management—often completing in seconds compared to minutes or hours with conventional methods—UV technology tends to be more suited for professional environments. The necessity for specialized equipment adds both cost and complexity; thus, this process may not be ideal for DIY enthusiasts. Nonetheless, those who invest in UV technology often find the speed and efficacy justify their expenses, especially in settings where turnaround times are critical.
Understanding these techniques offers distinct advantages tailored to different needs and circumstances in ceramic coating applications. Whether you opt for precision with heat guns, consistent coverage with infrared lamps, or speedy results through UV light illuminates your path forward in optimizing ceramic coatings.
Advantages of Proper Curing
Proper curing of ceramic coatings offers numerous benefits that can significantly impact their performance and longevity. First and foremost, when a coating is cured correctly, it leads to enhanced durability. This means that the coating is less susceptible to daily wear and tear from exposure to various elements, whether environmental contaminants or regular usage. Moving beyond durability, an additional benefit is improved resistance to chemicals, UV rays, and other environmental hazards. Whether you're parking your car under scorching sun or navigating through a rainstorm, a properly cured ceramic coating acts as a robust barrier, shielding your vehicle's paint job from potential damage.
When you invest time in ensuring proper curing, you'll find that the appearance of the coating is greatly enhanced as well. A well-cured ceramic coating results in a superior glossy finish that elevates the aesthetic appeal of any surface it covers. For instance, when applied correctly and allowed to cure unhindered, coatings can provide an eye-catching shine that makes your vehicle stand out. Finally, let's not overlook the financial aspect: proper curing extends the lifespan of the coating and provides better value over time. With higher longevity comes reduced frequency of reapplication, resulting in both cost savings and less labor. Those who follow good cure practices often spend less on maintenance and enjoy their investment for years longer.
The benefits extend well beyond just efficiency and aesthetics; they also open up exciting possibilities for selecting the right coating solution tailored to specific needs.
Top Ceramic Coating Services in Redmond, OR
Transform your vehicle with Perfection Plus Auto Salon’s premier ceramic coating services in Redmond, OR. Our expert team uses advanced application and curing techniques and high-quality products to provide exceptional protection and a stunning finish for your car. Experience the benefits of superior gloss, enhanced durability, and unmatched defense against environmental elements. Schedule your appointment today to give your vehicle the professional treatment it deserves and enjoy a pristine, long-lasting shine. Call us at (541) 598-6193 to get started!